Garlic Broccoli Slaw

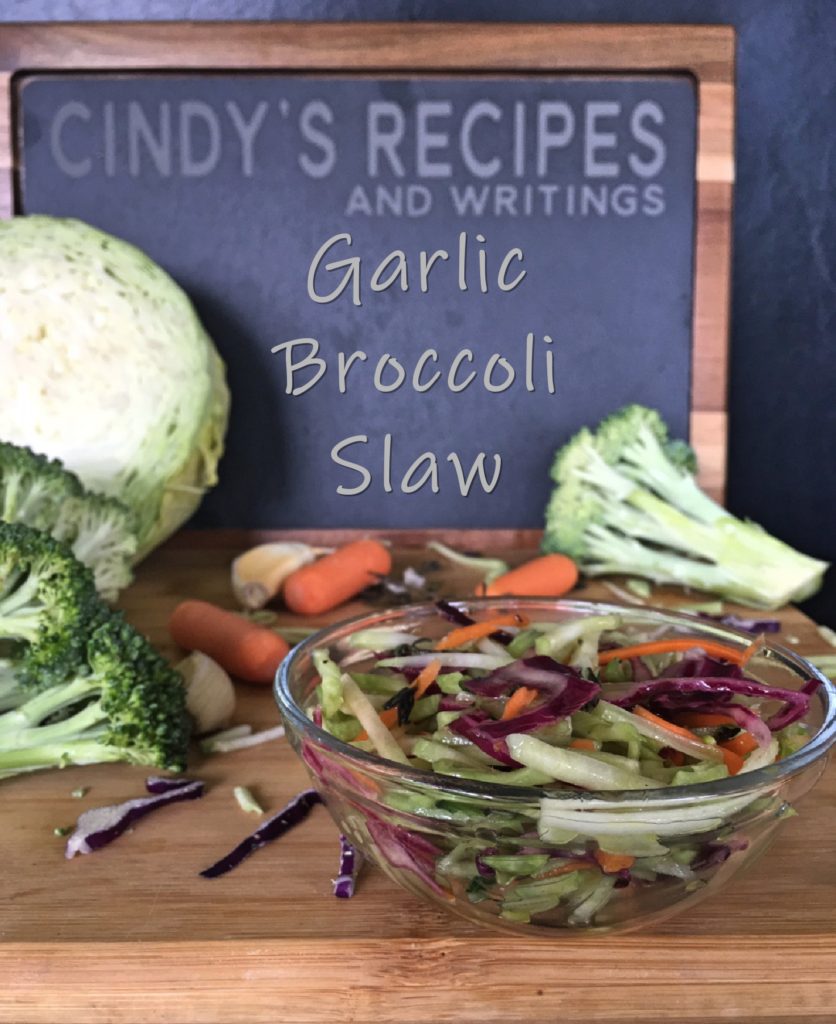
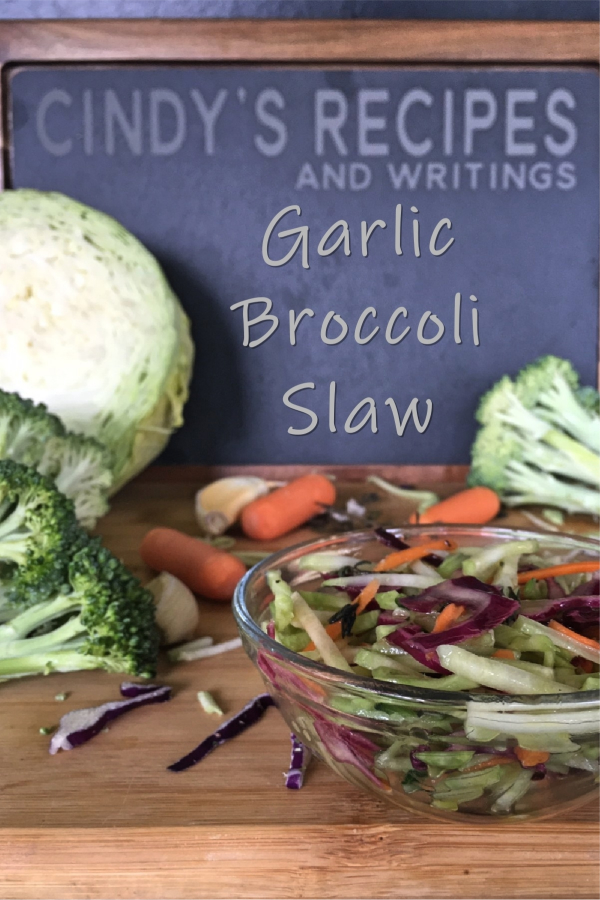
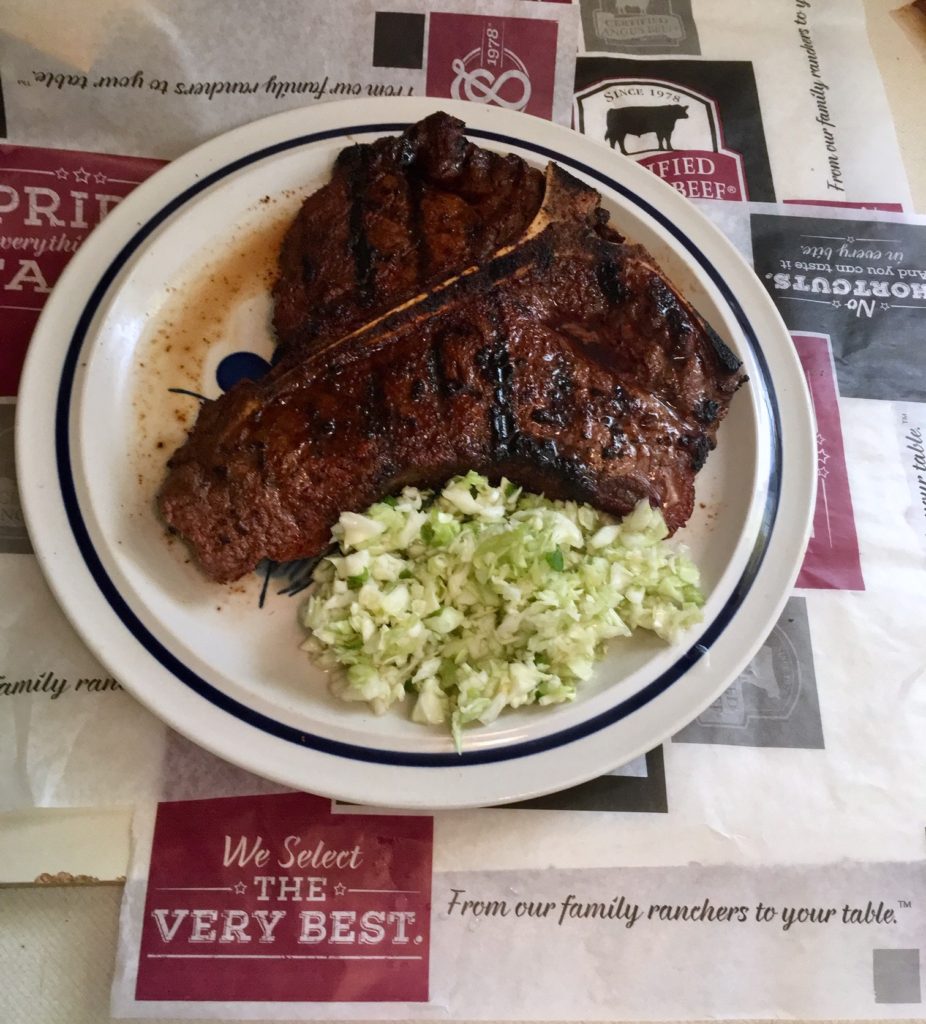
Garlic Broccoli Slaw blends fresh broccoli, carrots and cabbage in a garlic thyme champagne vinaigrette. An easy side dish fit for a company dinner or a friendly picnic get-together.
Garlic Broccoli Slaw

Welcome to another fun Festive Foodies Event!

This week is dedicated to recipes using ingredients found at a local farmer’s market. This can include, meats, fruits, vegetables, honey, syrups, jams, nuts, herbs, spices, etc.

Thanks Ellen from Family Around the Table and Christie from A Kitchen Hoor’s Adventures for hosting our Farmer’s Market Event!
Fresh picked vegetables and fruit taste so much better than their hot house counterparts. I didn’t plant a garden this year. So what’s the next best thing?

Farm stands and farmer’s markets!

When I go to the farmer’s market in Allentown, PA and see bananas, I’m not fooled into thinking those were locally grown.
Abundant local fresh veggies appear everywhere this time of year. As I posted on Monday, fresh picked salad lettuce, broccoli, cabbage, corn on the cob, berries, cukes, peaches, even cherries are available.

People set up roadside stands to sell extra zucchini, tomatoes and peppers. These are usually simple tables with a box with a slit in the top. The honor system applies here. Some backyard farmers price their wares. Three zucchini for a dollar. A watermelon for $2.50.

Other stands ask for donations. Late in the season, you start to see free signs here and there. Better eaten than wasted.
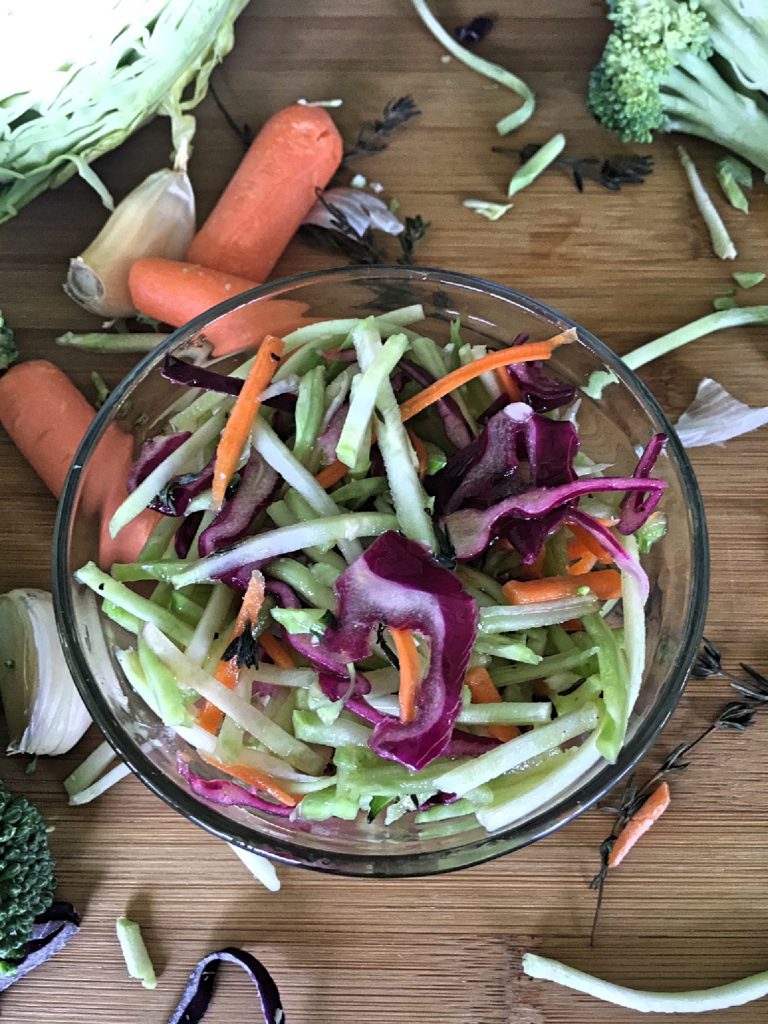
What I was looking for was fresh broccoli, cabbage and carrots. Here’s the thing. I wanted whole broccoli not just crowns for my slaw.
For my Garlic Broccoli Slaw, I use the stalks, cut into matchstick sizes. (Yes that’s a real size, young ones!) Avoid serving the woodier older stems. Save the crowns for dinner!

Garlic Broccoli Slaw

Garlic Broccoli Slaw

Garlic Broccoli Slaw

Garlic Broccoli Slaw

Ingredients
  

  • 1/4 cup olive oil
  • 2 tbsp champagne vinegar
  • 1/2 tsp kosher salt
  • 1/2 tsp turbinado sugar
  • 1/2 tsp minced garlic
  • 1 tsp fresh thyme leaves
  • 1 cup chopped broccoli stems
  • 1 cup chopped carrots
  • 1 cup chopped cabbage green or red

Instructions
 

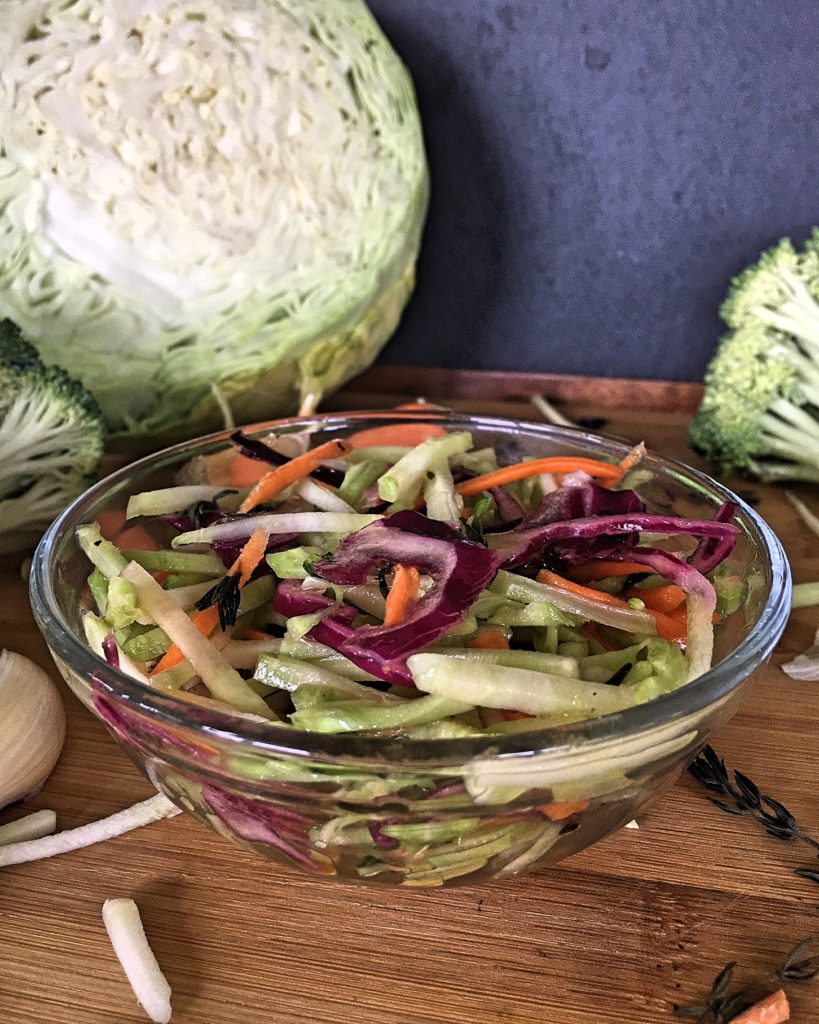
  • Whisk together oil, vinegar, sugar and salt. Whisk in garlic and thyme.
  • Stir together broccoli, carrots and cabbage. Pour on dressing, stir. Refrigerate for at least 30 minutes to blend flavors.

Notes

Find which cuts works best for your veggies. I like matchstick cuts but chopped pieces work as well.

Enjoy these tasty tidbits from Festive Foodies!

Wednesday Farmer’s Market Week Recipes

Posted in #FestiveFoodies, cabbage, vegan, vegetables, vegetarian, What's For Dinner? | Tagged , | 15 Comments

Spinach Ricotta Pierogies

Spinach Ricotta Pierogies
Spinach Ricotta Pierogies use fresh spinach, onions and potatoes, add ricotta. Wrap it all up in homemade dough. A tasty side, lightly fried!

Welcome to another fun Festive Foodies Event!

This week is dedicated to recipes using ingredients found at a local farmer’s market. This can include, meats, fruits, vegetables, honey, syrups, jams, nuts, herbs, spices, etc.

Thanks Ellen from Family Around the Table and Christie from A Kitchen Hoor’s Adventures for hosting our Farmer’s Market Event!

Farm stands and farmer’s markets are a big part of summer in my area. You get fresh picked salad lettuce, corn on the cob, berries, cukes, peaches, cherries, all so good.

People set up roadside stands to sell extra zucchini, tomatoes and peppers. These are usually simple tables with a box with a slit in the top. The honor system applies here. Some backyard farmers price their wares. Three zucchini for a dollar. A watermelon for $2.50.

Other stands ask for donations. Late in the season, you start to see free signs here and there. Better eaten than wasted.

Sometimes I get a good deal on potatoes and onions. Those two are the base for good pierogies.
I’m a big fan of pierogies. I love these little “dough pockets” stuffed with potatoes and American cheese, or sauerkraut and onions. I even make them with Certified Angus Beef® brand beef and peppers.
Cheese Steak Pierogies

But this post is about farm markets and stands. Back to the veggies. I’m thinking I’ll stick with the basic potato, onion and cheese. Spinach is plentiful right now, so in it goes.

Since spinach and ricotta are a perfect pair, bye, bye American cheese.

Of course these pierogies need homemade  dough. A simple flour, egg, salt and water works perfectly.

I recommend you rest the dough for about 10 minutes before you roll it out.

I use a 3-inch rock glass to cut the circles. You can use a doughnut cutter, cookie cutter or inverted measuring cup. Whatever works for you.

A rounded teaspoon of filling is all you need. Too much filling leaks out.

Fill Spinach pierogies


Spinach Pierogies fillled

All sealed. Time to blanch in boiling water. Normally you’ll hear pierogies are done when Cook them for about 3 minutes AFTER they float.

Spinach-Pierogies-drop.

Spinach-Pierogies-boiled

Fry these dough pockets in butter and oil with caramelized onions for added flavor.

Spinach-Ricotta-Pierogies

Spinach-Ricotta-Pierogies

Spinach Ricotta Pierogies


Notes

Ingredients
For frying
2 tablespoon unsalted butter
2 tablespoons vegetable oil, divided
filling
1 medium potato, skin on
1/4 cup diced onion
2 tablespoons ricotta cheese
dough
1 1/2 cups all-purpose flour, divided
1 large egg
1/4 teaspoon kosher salt
3 tablespoons water, divided
1 teaspoon table salt for boiling water bath
 
Filling
 
Cover potato, skin on, with water in a 2-quart saucepan. Bring to a boil. Boil for 1 minute. Reduce heat to medium, cover and cook until fork tender but not mushy about (10 to 15 minutes). Remove potato, cool until easy to handle then peel. Place peeled potato in a small bowl and mash with a fork.
 
While potato cooks, sauté spinach and onions in 1 tablespoon vegetable oil in a small fry pan over medium heat for about 2 minutes until spinach wilts and onions turn translucent.
 
Mix together potato, spinach mixture and ricotta cheese. Set aside.
 
Dough
 
Place 1 cup flour on cutting board. Make a well in the center. Add salt, egg and 1 tablespoon water at a time. Knead into soft dough. Adjust water and flour as needed from reserve. Form into a ball. Cover with damp towel and rest 10 minutes.
 
Roll out dough to 1/4-inch thickness. Cut into nine 3-inch rounds. Set aside.
 
Add 1 rounded teaspoon of filling in the center of each circle. Wet the edges with a wet fingertip. Fold over filling and gently seal edges with a fork.
Bring 2 quarts water and table salt to a boil in a large pot or dutch oven over medium-high heat. Gently drop in pierogies, one at a time with a slotted spoon. Stir. When water returns to a boil, reduce heat and cook about 6 minutes total. Pierogies will float after about 3 minutes. Continue cooking another 3 minutes to cook dough more thoroughly. Move cooked pierogies to a plate. Fry or refrigerate, covered, for later use. Pierogies can be eaten as is, deep fried or pan fried.
To pan fry:
Fry pierogies in butter and oil in a medium-sized skillet over medium heat until crisp and browned. Serve with caramelized onions and sour cream if desired.

Spinach Ricotta Pierogies

Enjoy these great recipes inspired from visits to our local farm stands and farmer’s markets.

Monday’s Farmer’s Market Week Recipes

Posted in #FestiveFoodies, appetizer, brunch, comfort food, garden, potatoes, spinach, vegetables, vegetarian, What's For Dinner? | Tagged , | 17 Comments

Grilled Porterhouse and Grilling 101 recap #BestAngusBeef

This post is sponsored by Certified Angus Beef® Brand in conjunction with a social media campaign through Sunday Supper LLC. All opinions are my own.
Grilling steaks like this Porterhouse is easy in a few simple steps. I share the hows and whys in today’s post.
porterhouse
I recently spent a few days with a group of Certified Angus Beef® Brand bloggers in Cleveland and at the Certified Angus Beef® Brand Culinary Center in Wooster, Ohio. There we learned first hand new grilling techniques from their amazing chefs.
We also got to experience some regional chefs’ takes on how they transform Certified Angus Beef® Brand beef into delicious meals. My next post will cover Chef Brett Sawyer, from Plum, Chef Matt Mytro from Flour and Chef Jeremy Umansky from Larder Delicatessen.
2019 group at plum

First up was Chef Michael Ollier. Chef Michael showed us marbling 101 and we got to sample each cut to taste the difference in texture and flavor. cab chef michaelcab grades
taste
Certified Angus Beef® Brand stood out as the most tender and juicy samples. It really is a cut above the rest!

We got to spend some time in the meat lab with Meat Scientist, Diana Clark and Chef Gavin Pinto.
Diana Clark
Gavin Pinto
We learned about different cuts and how to ask our butchers for cuts like this short rib. Diana showed us how to turn it into a beautiful presentation.
rib

Next we were outside with Chef Michael to learn new grilling techniques!

grill class
We took a hand at skewering the cap steak.
skewer
Grill it up!


Mine turned out pretty good!
cooked cap
cap slice
Here we also learned that this porterhouse steak is made up of a tenderloin or filet and a loin strip better known as a NY strip. Together this cut serves the best of both worlds.
Choose a porterhouse which has a “golf ball size” filet for the best quality.
porterhouse

Chef Michael also explained that it takes a gentle touch to use rubs as steak seasoning. Grinding dry spices into the meat forms a paste that just does not do a good steak justice.
To season with a dry rub, lightly coat your steak in vegetable oil and sprinkle on the seasoning mix. You can gently pat it onto the steak.
We got Spices 101 from Chef Tony Biggs. When it comes to spice knowledge, Chef Tony is the “Mad Scientist” of blending.
chef Tony
We got to create mixes to take along with us.
mix spices
Here’s two recipes for delicious dry rubs:
From Certified Angus Beef® Brand, Santa Maria Rub:
3 tablespoon coarse Kosher Salt
3 tablespoons cracked black pepper
1 tablespoon turbinado sugar or granulated honey
1 teaspoon granulated garlic
1 teaspoon granulated onion
The following recipe was provided by Debbie Lyons-Blythe, rancher and blogger of KidsCowsandGrass.com
The Best Meat Seasoning Recipe:
4 tablespoons seasoning salt
1/2 tablespoon paprika
3/4 teaspoon garlic salt
1 3/4 teaspoons mesquite-flavored seasoning mix
1/3 teaspoon black pepper
6 tablespoons dried oregano
2 tablespoons brown sugar

I used the Santa Maria Rub for this porterhouse. I lightly rubbed both sides of the steak with vegetable oil. Next I sprinkled on the Santa Maria rub, about a teaspoon per side, and gently patted to coat the steak.
Next, I seared the steak on a heated, lightly greased grill over medium-high heat for about 6 minutes per side for medium rare. You can turn your steak while on side one to face the opposite way to get those cool diamond marks. Learn more about grilling diamond marks here.
Remove steak from pan and allow to rest on cutting board, tented with foil for about 5 minutes to redistribute the juices.
Put it all together and you get a well seasoned, perfectly cooked steak every time!
porterhouse cooked
Whichever cut you choose, remember to make it Certified Angus Beef ® brand. I get the best selection at Weis Markets.

I choose Certified Angus Beef® Brand because of these reasons.

CAB logo

Most importantly, Certified Angus Beef ® brand supports local farmers and ranchers in small communities across the country. It has a tradition of excellence spanning over 40 years. The brand offers amazing flavor in every bite.

  • The Certified Angus Beef ® brand is the world’s first brand of beef, established in 1978.
  • Premium Certified Angus Beef ® brand steaks, roasts, ground beef and deli meats are available around the world at only the best grocery stores and steakhouses.
  • High quality is important. The Certified Angus Beef ® brand is more selective than USDA Choice and Prime. Each cut must meet 10 exacting standards for quality. It’s beef of unrivaled flavor, juiciness and tenderness.
  • Marbling is key. Certified Angus Beef ® brand is known for its marbling – the little white flecks of flavor that ensure the tastiest, most tender and juiciest cuts of beef.
  • Their family ranchers raise not just “Angus” beef, but the #BestAngusBeef .

cowboys

Not sure where to find Certified Angus Beef ® brand? Find restaurants or grocers in your area: certifiedangusbeef.com/buy/

Follow Certified Angus Beef® brand on social media for news, contests, recipes and more including live Facebook events!
Facebook: Facebook
Pinterest: Pinterest
Instagram: Instagram

Join the conversation with other beef and recipe enthusiasts, and get great tips and tricks in the Certified Angus Beef ® Kitchen Facebook group. See you there!
Certified Angus Beef Brand Kitchen

Posted in #bestangusbeef, #steakholder, #SundaySupper, beef, comfort food, steak, What's For Dinner? | 6 Comments

Nutty Buddy Sundaes #OurFamilyTable

Nutty Buddy Sundaes serves vanilla ice cream, in a waffle bowl topped with a homemade hard candy shell. Topped off with a bit of whipped cream and a cherry. A old-fashioned ice cream treat to make at home.

Nutty Buddy Sundae

Welcome to another addition of from Our Family Table. This week, we’re talking ice cream!
No churn, hand churn, gelato; how do you keep cool with ice cream during the heat of summer? What toppings and sauces do you make for your ice cream friendly family?

Thanks Christie from A Kitchen Hoor’s Adventures for hosting our ice cream social! 🙂

If you’ve never had a Nutty Buddy Ice Cream Cone, it was vanilla ice cream packed inside a sugar wafer cone, topped with a hard chocolate shell and loaded with chopped peanuts. The secret was that hard chocolate shell you could bite into.

The original cones disappeared from stores years ago. Now you can find a similar cone called drumsticks but that crunchy dark chocolate isn’t the same.
I bought sugar waffle bowls to make this into sundae. Maybe I just wanted some whipped cream and a cherry! 😉

If you can’t find waffle cone bowls, make it as an ice cream cone or break waffle cones as the base. It doesn’t matter, it’s all good!
Nutty Buddy SundaeMy version of this classic treat uses dark chocolate chips and coconut oil to make that crunchy chocolate shell.

As a side note, different brands of coconut oil will yield different textures in the shell. You can easily adjust the thickness by remelting the mixture with more oil or chocolate chips!

Nutty Buddy Sundae

5 from 1 vote

Notes

Ingredients:
1 sugar wafer bowl  or cone
1 to 2 scoops of vanilla ice cream
1 to 2 tablespoons chopped peanuts
1 cup dark or semi-sweet chocolate chips 
2 tablespoons coconut oil
whipped cream and cherry optional
Instructions:
Fill bowl with desired amount of ice cream. Sprinkle with peanuts. Place back in freezer until ready to add shell topping.
Combine chips and oil in a microwave safe bowl. Melt 20 seconds at a time, stir, until thin enough to pour over ice cream.
Pour over ice cream. Allow to harden, (a few seconds to a half a minute).  Place back in freezer if necessary to harden. Top with whipped cream and cherry if desired.


Enjoy all these cool ice cream treats from Our Family Table!

I Scream for Ice Cream Recipes

We share Recipes From Our Dinner Table! Join our group and share your recipes, too! While you’re at it, join our Pinterest board, too!

Posted in #OurFamilyTable, dessert, ice cream, What's For Dinner? | 19 Comments